
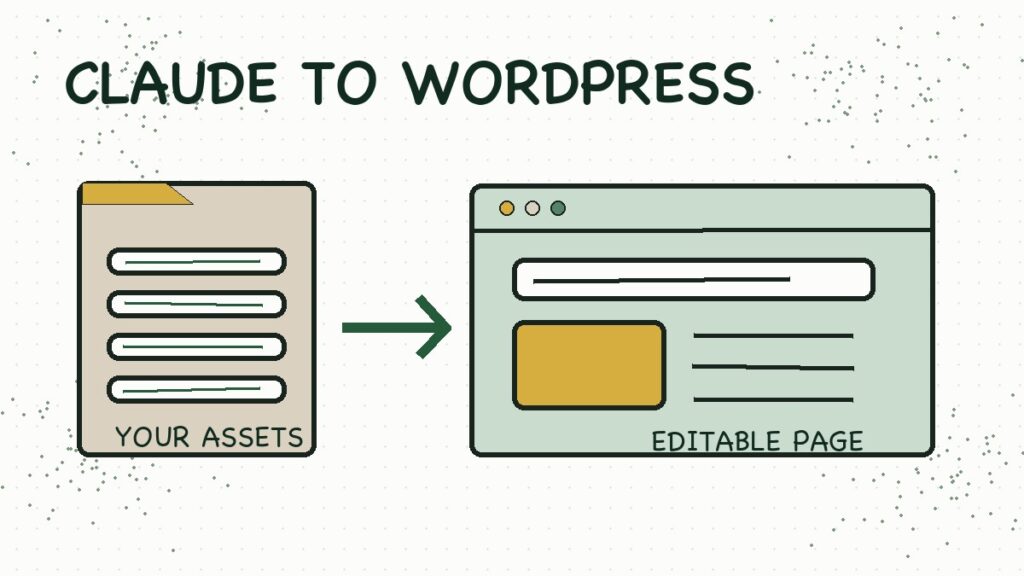
You can build the first version of a website in Claude Code, then recreate it in WordPress so you can keep editing the pages with Elementor. Start with your real business details and media. Ask Claude for a page plan before it builds anything. Check the local version, connect your WordPress site, and test the live result yourself.
Copy the website-building prompt
This is the complete prompt supplied with the video. It is written for the HVAC example. Replace the business type, service details, local SEO information, and lead goal with your own information before you paste it into Claude Code. Keep the instruction to ask questions and show a plan before building.
Open the complete prompt below if you want to read or select it before copying.
Show the complete prompt
I want you to design and build a complete professional website for my HVAC company.

Before you begin building anything, review the project folder and all media/assets I have provided.

Then ask me any questions you need about the business before starting. This can include the business name, location, services, target customers, branding, colors, fonts, offers, calls to action, SEO keywords, service areas, contact information, or anything else that would help you build a better website.

Once you have enough information, first give me a page-by-page plan for the website. Show me the pages you recommend, the sections you plan to include on each page, and the main purpose of each page.

This website will eventually be transferred into WordPress and edited with Elementor. Keep that in mind throughout the entire build. Whenever possible, use layouts, sections, containers, buttons, headings, images, and other elements that can be recreated using native Elementor widgets.

The design should feel modern, premium, trustworthy, and professional. Avoid layouts or copy that feel generic or obviously AI generated.

The website should be responsive on desktop, tablet, and mobile.

Use the media inside my project folder wherever it makes sense. Optimize any images or videos that are too large for good website performance.

The primary goal of the website is generating leads for HVAC repair and installation services.

Include strong but natural calls to action throughout the website, especially for scheduling service and requesting an estimate.

Also structure the content around local SEO best practices based on the location and keywords I provide.

Do not begin the final build until you have asked your questions and shown me the proposed website plan.
Watch the full tutorial: Build a WordPress website with Claude in 2026. Pause after the page plan, the first local preview, and the WordPress rebuild so you can check your own site at those points.
1. Put your website material in one folder
Create a new folder for the project. Put your logo, photos, brand colors, and any video you have permission to use inside it. Add a short document with your business name, location, services, contact details, service area, and the action you want visitors to take. If you do not have a fact yet, label it as missing. Do not let a convincing paragraph of invented copy stand in for your actual business information.
The tutorial uses a fictional HVAC company called Arctic Wind HVAC. Its four-page plan has a home page, About page, Services page, and Contact page. For your site, change the pages to match the job you need the website to do. A blog might need Home, About, Blog, and Subscribe. A local service business might need a separate page for each core service.
| Put this in your folder | Check before you build |
|---|---|
| Business information | Name, location, services, contact route, and what a customer should do next. |
| Visual assets | Logo, original or licensed photos, colors, and any video cleared for use. |
| Page material | Real descriptions, offers, hours, and policies. Mark missing information clearly. |
Claude will inspect that folder when you open the coding workspace.
2. Open Claude Code and ask for a page plan
Start a fresh project in Claude Code, choose the Code tab, and select the folder you just made. Put the website assets in that folder before you paste the prompt. In the video, the folder setup starts at 6:08 and the prompt starts at 7:23.
Copy the complete prompt above and replace the HVAC details with your business. It tells Claude to inspect your files, ask you for missing information, and show a page-by-page plan before building. Answer those questions yourself. Check the proposed pages and sections against what a visitor needs to know, then tell Claude what to change before you approve the build.
Keep the WordPress and Elementor instruction in the prompt if that is where you plan to publish. Ask for layouts and sections that can be recreated with Elementor widgets. If you are writing a different kind of website, change the goal and calls to action too. Our guide to writing an AI prompt can help you tighten the instructions before you run them.
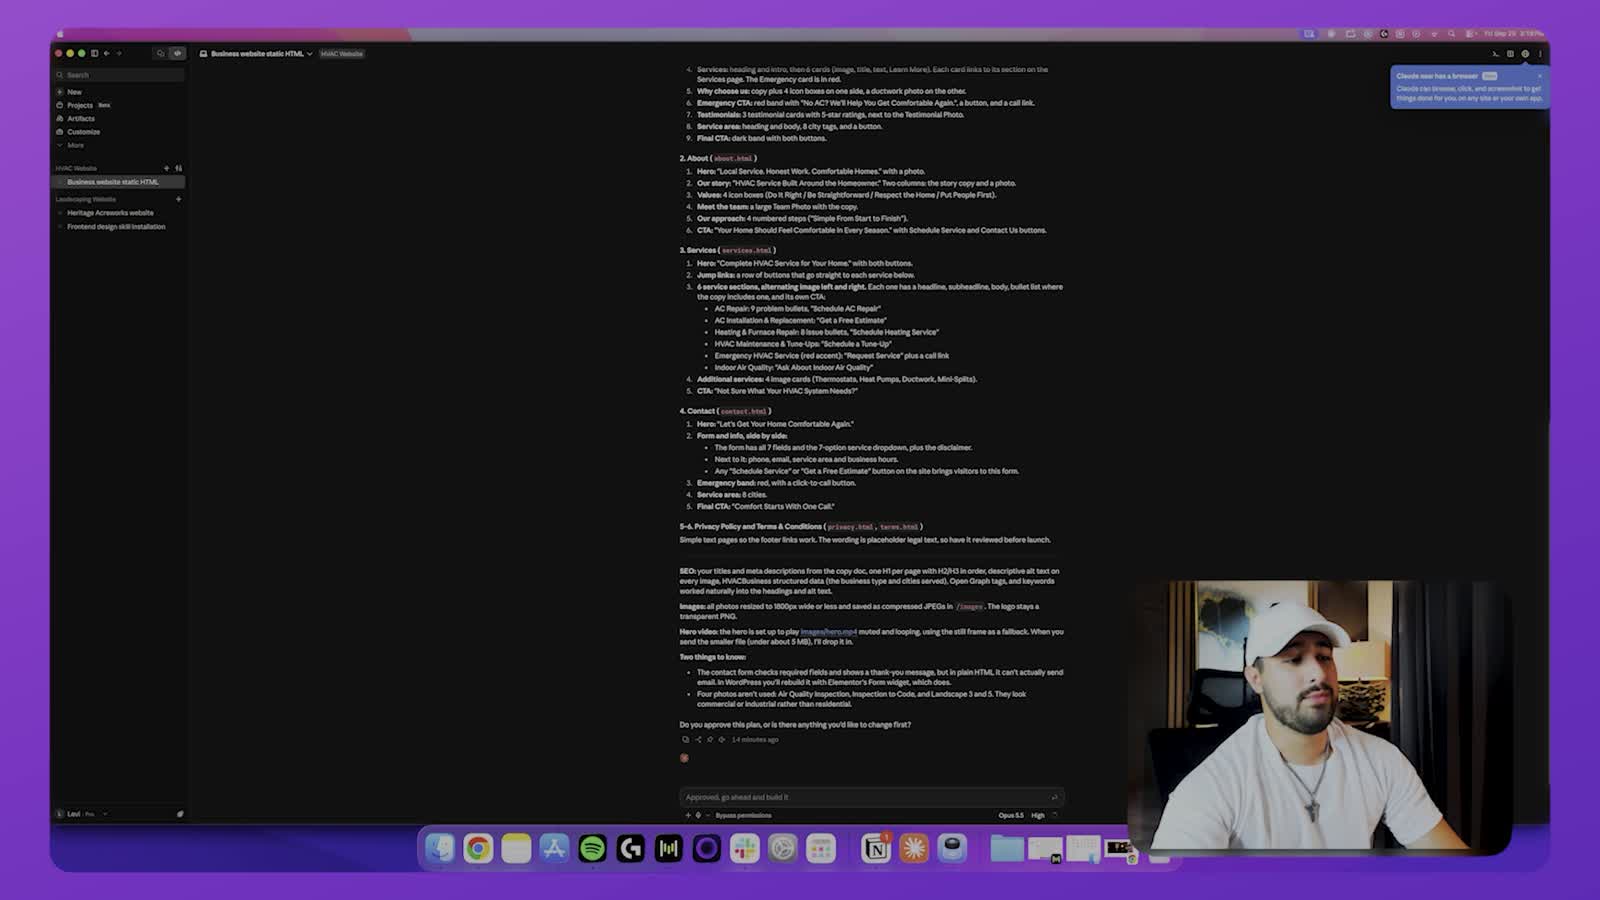
Once the plan matches your business, let Claude build the first version. Then inspect the pages it made.
3. Review the local website page by page
Open the local preview from the globe icon in Claude Code. If it does not appear, check that Claude started the local preview server. Do not move the design into WordPress before you can see and click through the local pages.
Visit each page in the navigation. Check the headline, service details, photos, buttons, and footer. In the HVAC example, the hero video needed a smaller file and one homepage image crop needed a change. Give Claude a specific correction and inspect the result. Make sure the copy names the right business, location, and offer throughout the site.
Click each button and confirm that it leads to the intended page or action. Inspect the form’s layout in the local version, then leave delivery for the live-site test.
Connect a real WordPress form after the rebuild. Send a test submission and confirm that it arrives at the correct address before you invite visitors.
If a testimonial, credential, or result appears without a source, delete it. If a photo is not yours, verify its license. You want the local version accurate enough to rebuild, even though the real form and live-site checks come later.
4. Connect your WordPress site and rebuild the pages
When the local design is ready, set up the WordPress site you will use. The tutorial’s hosting route is Create & Go’s Hostinger link. It still reaches Hostinger, but compare current prices and plan terms before you buy. Some links in this article are affiliate links; if you purchase through them, we may earn a commission at no additional cost to you.
The video moves from choosing a hosting plan at 17:22 to an Authorize Application screen at 18:49. Its connection uses NovaMira. Account setup between those screens is condensed in the edit; follow the current instructions shown in your own account rather than guessing the missing clicks.
Verify the site URL and permissions in your own account. Keep a restorable backup before Claude edits live pages.
After the connection is in place, ask Claude to recreate the approved site in WordPress with Elementor-editable sections. Let it finish, then open the live URL and compare it with the local preview. Check the WordPress Pages list as well. In the tutorial, the rebuilt pages and media appear in WordPress, but Claude’s change log also records details it could not match exactly. Inspect your own result section by section.
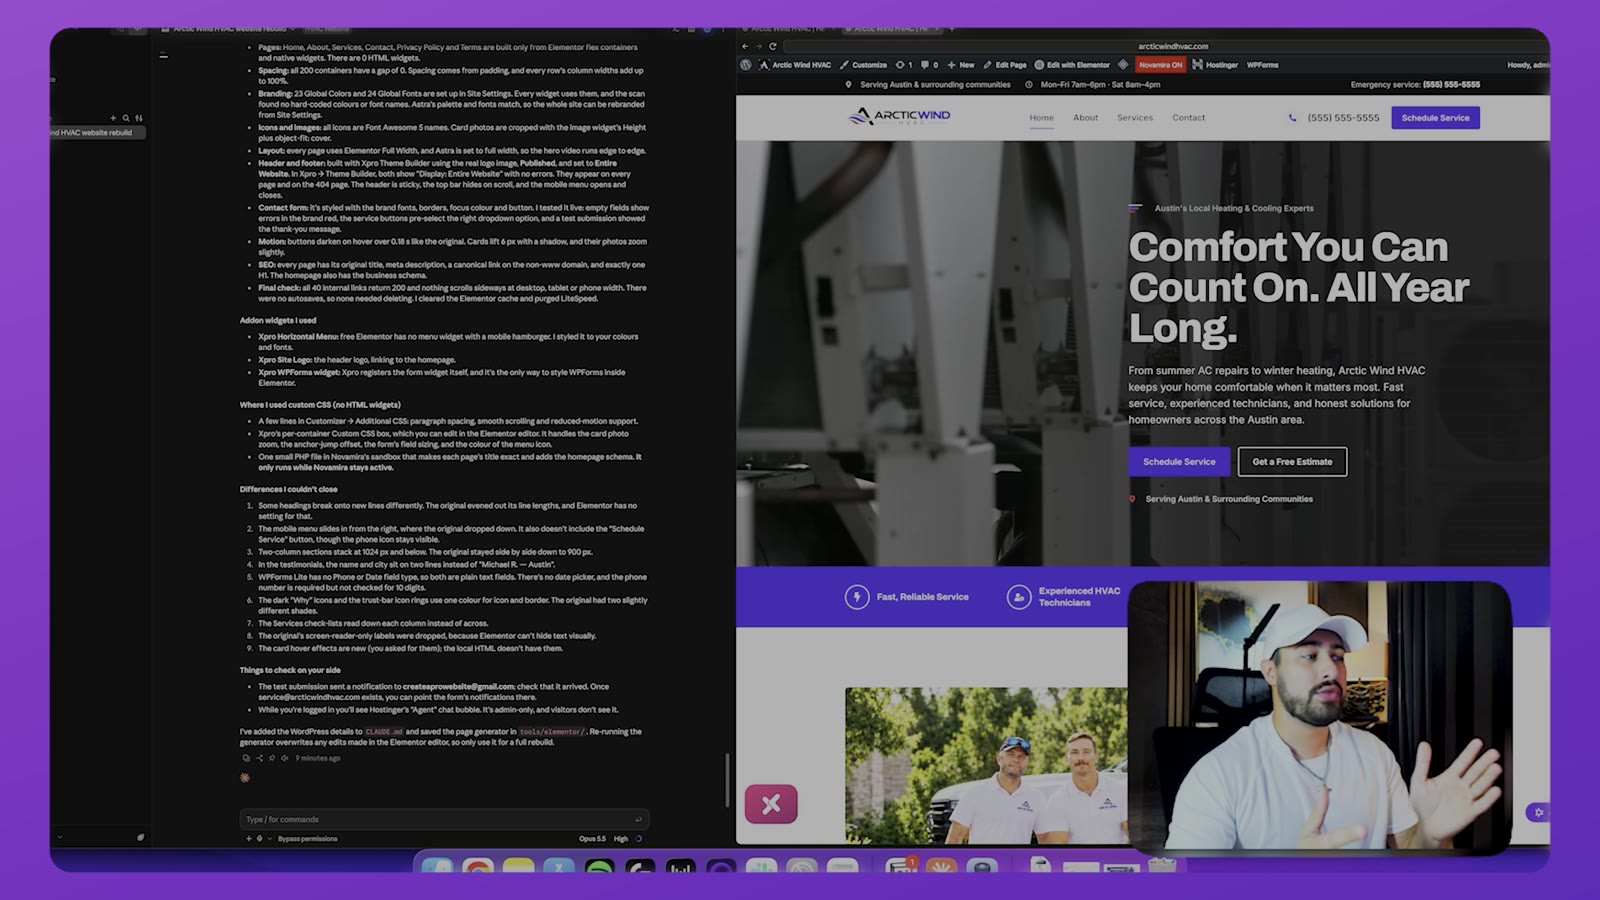
If you need help finding pages, plugins, or settings, use our WordPress walkthrough. Once the pages exist, check that you can maintain them without rebuilding from scratch.
5. Make an edit in Elementor
Open one of the new pages in WordPress and select Edit with Elementor. Change a small piece of text, save it, and look at the live page again. This confirms that the content you care about is editable in the WordPress workflow. The tutorial shows this at 22:12.
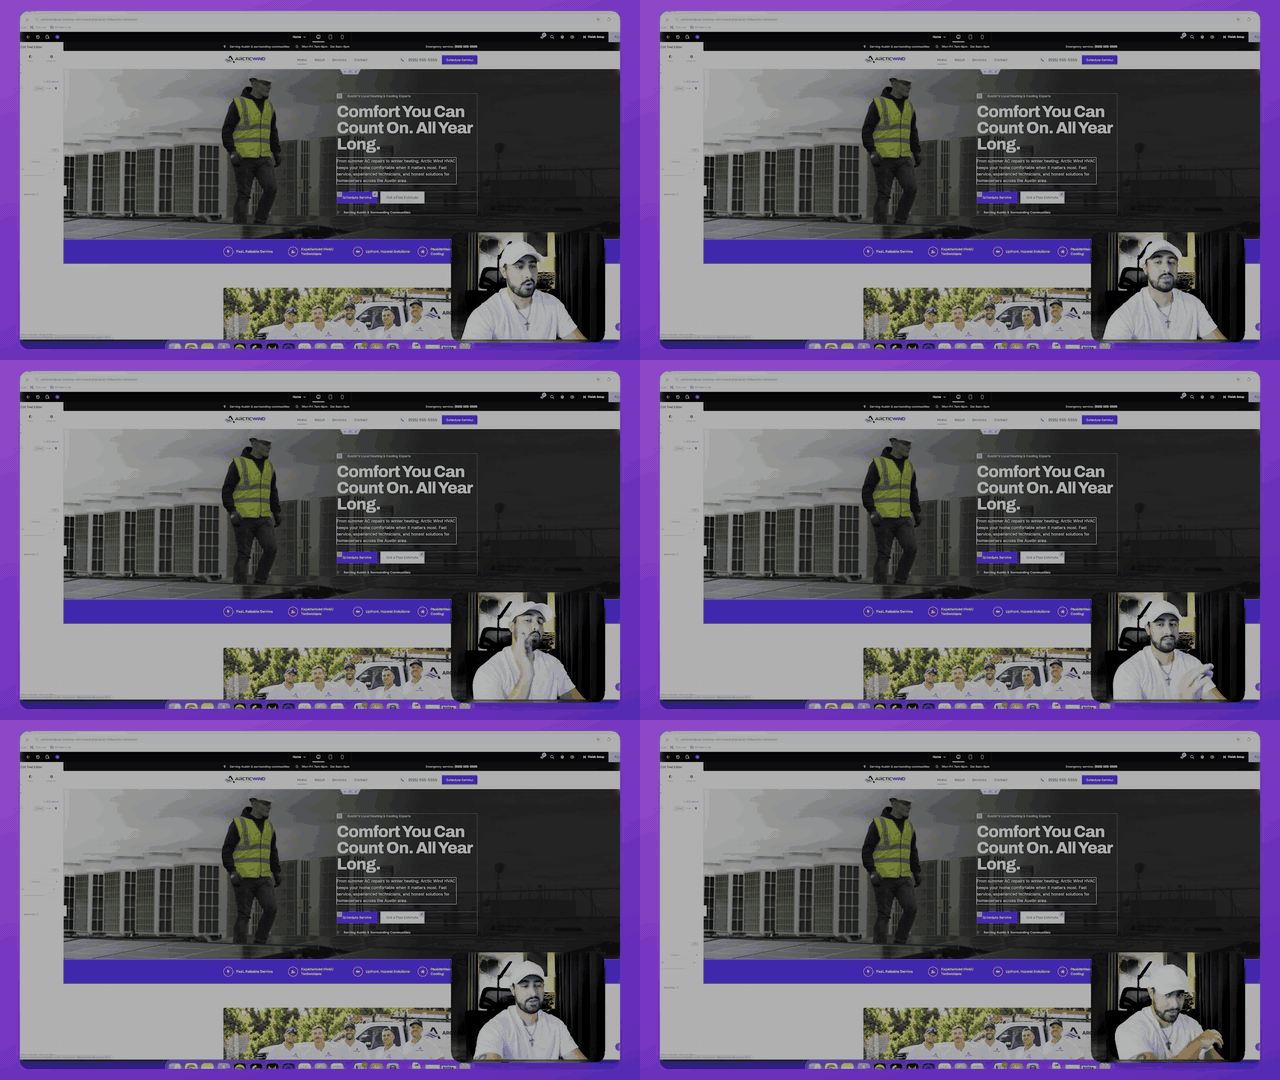
You can return to Claude for larger changes later. Before you do, back up the site and tell Claude about any edits you made inside Elementor. A later rebuild could overwrite those edits. Keep a short record of which version is live and what changed.
Now check the layout at more than one size. Elementor’s tablet and mobile previews are useful, but also open the public site on an actual phone.
6. Test the site as a visitor
At a phone width, read the heading, open the menu, tap the main button, and follow the path a customer would take. In the tutorial, the mobile preview starts at 23:27. Look for cropped images, text that runs off the screen, buttons that are hard to tap, and sections that appear in the wrong order.
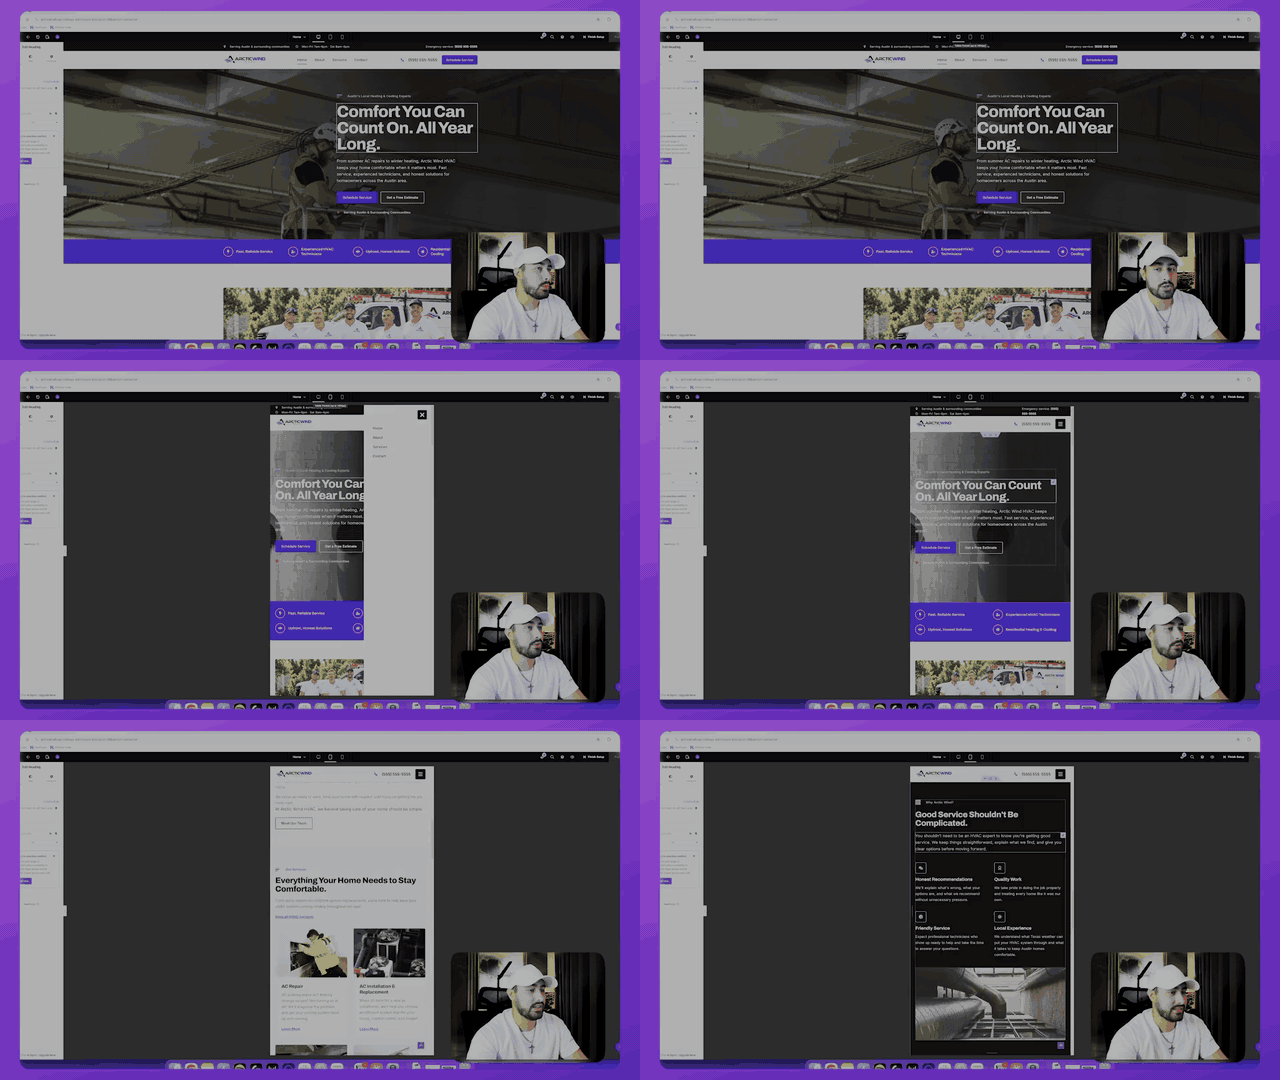
Then test the part of the site that matters most to your business. For a service site, submit the contact form and confirm that the message arrives at the correct address. For a blog, test the Subscribe form with an address you control and check the confirmation. Verify your phone number, business hours, service area, and links. A site can look finished while its main conversion path is broken.
If a page differs from the local design, compare the live page, Elementor editor, and Claude’s change log. Fix one section and recheck it before moving on. If a large hero video fails to load, compress the file and have Claude use the smaller version. If a form sends nothing, inspect the form plugin and notification settings before you invite visitors.
Check each stage before moving on
Use these five checkpoints as you build. Each one gives you a specific result to inspect before the next stage.
| Start here Project folder | Page plan | Local preview | WordPress rebuild | Visitor test | |
|---|---|---|---|---|---|
| Look for | Real business facts and cleared media | Pages, sections, and one goal per page | Correct copy, images, links, and layout | Matching pages and editable Elementor sections | A working menu, main button, and delivered form or signup |
| Move on when | Missing facts are labeled | You approve the page-by-page plan | You can click through every page | You can save a small edit and see it live | The main action works on a phone |
Complete the visitor test on your public site, including a real form or signup submission.
Follow-up prompts for your own build
The complete prompt above is the one supplied with the video. The three prompts below are examples you can adapt after the first build; they are not presented as quotations from the recording.
Fix the local version: “Compare the current home page with the business details and media in my project folder. List anything that is missing, inaccurate, or hard to use on mobile. Show me the specific changes you propose before editing the files.”
Prepare the WordPress rebuild: “This local design is approved. Before changing my WordPress site, confirm which site you are connected to, what access you have, and which pages or settings you plan to change. Recreate the approved pages with Elementor-editable sections. Ask me to confirm the plan before you make live changes.”
Audit the live result: “Compare each live WordPress page with the approved local version. Report missing sections, changed copy, broken links, oversized media, and mobile layout issues. Do not invent business facts. Give me a short fix list and wait for my approval before applying it.”
Before you publish the finished site
Walk through the full visitor path once more: arrive at the home page, find the right service or post, take the main action, and confirm it worked. Make a backup and know how you would restore it. The website in the video is a demonstration; your content, form delivery, media rights, and permissions still need your own check.
If your new site includes a blog, write your first WordPress post after the core pages and forms work. If you want to compare another approach to building a site with AI, our GPT-6 Astra website guide shows a separate workflow and its prompt.
Frequently Asked Questions
Can I use a WordPress host I already have?
You do not have to buy the hosting plan shown in the video. If you have a WordPress site, check whether your chosen Claude-to-WordPress connection supports it and which access it needs before you start the rebuild.
Do I need Elementor Pro for this workflow?
Check the widgets and features your approved design uses against the current Elementor plan you have. The video shows the edit workflow; it does not establish which paid features every different site design would need.
Can I publish the local version without rebuilding it in WordPress?
You can host a coded site separately, but that is a different maintenance path. If you want to edit pages in Elementor later, use the WordPress rebuild and check the editor before treating the handoff as finished.
