
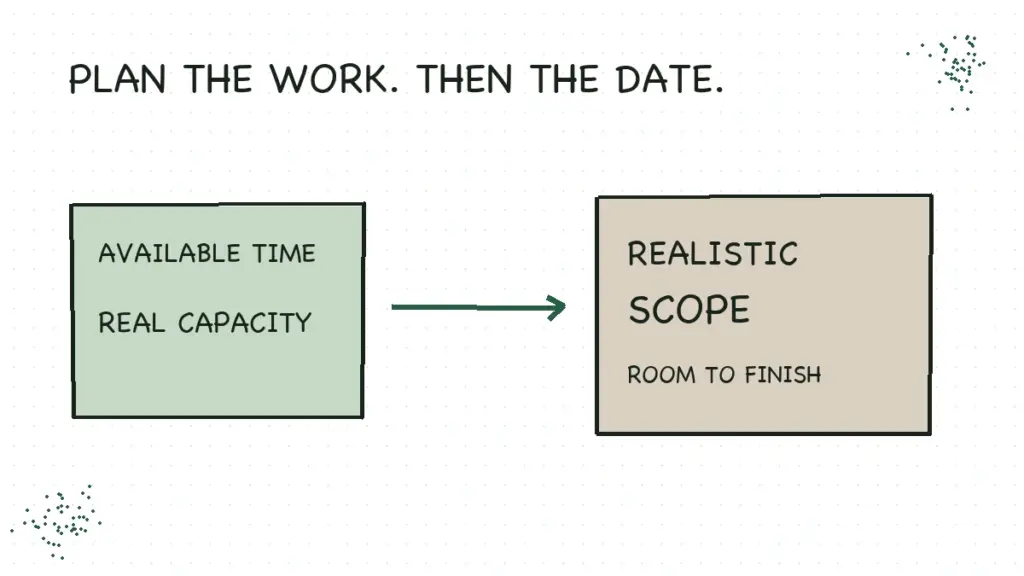
A blog content calendar connects the posts you plan to publish with the work needed to finish them. At minimum, it needs a reader question, a working title, a draft deadline, a publish date and a clear status. Add the live link when the post is actually public.
The trap is filling every square before asking who will write all of this. Usually, that person is you. The same you who still has emails, laundry and a suspiciously optimistic list from last month.
Let’s build a smaller calendar: a copyable template, a four-week example and a way to recover when a post takes longer than expected. You can use a spreadsheet, a document or the planning app you already open. The useful part is the decisions inside it.
Start with the time you can actually give the blog
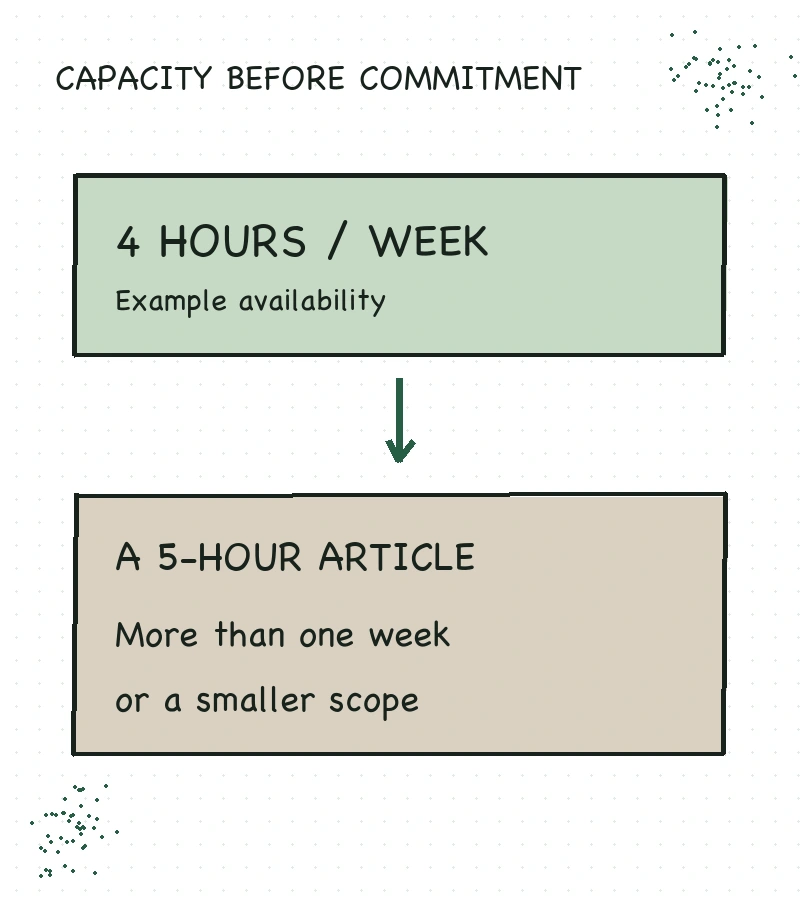
Choose a publishing rhythm after looking at your available work time. If you have four hours a week, a weekly article that requires interviews, testing, original photos and extensive editing may not fit. Moving its deadline doesn’t create the missing hours.
Try a simple estimate. Suppose a particular post needs one hour of research, two hours of writing, one hour for images and editing, and another hour to format and check the published page. That’s a five-hour job in this fictional example. With four available hours a week, give it more than one week or reduce the scope responsibly.
You won’t estimate perfectly at first. Record how long your next two posts actually take, including the fiddly work after the draft. Uploading images and fixing a broken mobile table still count as work, even when the writing part felt finished yesterday.
Start with one publish slot you can defend. Weekly may fit; every other week may fit better. Leave room for maintenance and follow-up rather than assigning every available hour to a new article. If an existing post needs repair, that belongs in the same workload.
Copy this blog content calendar template
One row per post is enough to begin. Use the fields below as spreadsheet columns or as the labels in a document. The example belongs to a fictional balcony-gardening blog; it is not a Create & Go performance case study.
| Field | What to put in it |
|---|---|
| Reader question | Which herbs suit a balcony with morning sun? |
| Working title | Herbs for a Balcony That Gets Morning Sun |
| Page action | New post, update, or check an existing URL |
| Evidence needed | Light observations, plant requirements and original photos |
| Next work session | Monday: check light and gather sources |
| Draft due | End of week 1 |
| Publish target | Week 2, after editing and checks |
| Status and blocker | Researching; confirm afternoon shade with a second observation |
| Live URL and follow-up | Add the public link after verification; review reader questions later |
The “next work session” field keeps a calendar from becoming a row of distant deadlines. When you open it on Monday, you should know whether you’re researching, writing or checking a form. “Work on blog” is a category of anxiety, not an instruction.
Here is the blank version you can copy into a note and duplicate for each committed post:
Reader question:
Working title:
Page action and existing URL:
Evidence needed:
Next work session:
Draft due:
Publish target:
Status and blocker:
Live URL and follow-up:
Replace each blank with your own information; remove fields you genuinely don’t need. If someone else writes or approves the post, add an owner and a review deadline. A solo blogger usually doesn’t need six approval columns to ask themselves whether the image looks weird.
Keep your idea list nearby, but separate from the calendar. An idea can be interesting without being a commitment for next Thursday. That separation lets you collect freely while protecting the small amount of work you’ve actually promised to finish.
Choose posts around a reader’s next problem
A useful calendar has a reason for the sequence. For the balcony blog, a beginner may need to understand their light before choosing herbs, then work out watering once the plants arrive. Those questions belong together because one decision leads to the next.
Start with questions you’ve received, problems you can demonstrate and subjects you know well enough to research responsibly. Our blog topic guide can help you generate possibilities. Put those possibilities in the idea list first, so a brainstorming session doesn’t accidentally commit you to twenty articles.
Before assigning a new URL, search your own site. If you already have a page that answers substantially the same question, consider updating it. A new headline does not automatically create a new reader need. Our blog content audit gives you a way to choose what to keep, improve or consolidate.
Then check search intent. What does someone entering the phrase expect: instructions, examples, a comparison or a quick answer? Use that answer to define the post’s job. The blog SEO guide covers the broader research process; the calendar only needs the decision and the evidence you’ll need to deliver it.
Google’s people-first content guidance asks whether a page adds useful, original value. It doesn’t give you a magic number of weekly posts. A schedule helps you do the work consistently; it can’t make an unsupported article useful by arriving on time.
Use this four-week plan as a worked example
Here is a modest first month for our fictional balcony-gardening blogger. Assume six hours are available each week. The plan contains two new articles, a small update and time to review what happened. Those are illustrative choices, not a proven growth formula.
| Week | Work and intended result |
|---|---|
| 1: Prepare the first guide | Observe balcony light, check reliable growing sources, take photos and draft the herb-selection article. No new release promised this week. |
| 2: Finish and publish | Edit the herb guide, check images and links, publish and verify the public page. Use remaining time to outline the watering article. |
| 3: Draft and maintain | Write the watering article with a clear example. Update the existing container guide where a reader’s question exposed a missing detail. |
| 4: Publish and review | Finish and verify the watering article. Review both releases, answer relevant reader questions and choose the next month’s first topic. |
Notice what the calendar does not contain: twelve new posts, a daily video schedule and an instruction to “go viral.” It leaves enough space to make the two articles useful and to learn something after publishing them.
The first guide helps someone choose a plant for their actual conditions. The second helps them care for that plant. The container update repairs an existing step in the same path. Each item has a reader job, so the blogger can explain why it deserves a place this month.
If a seasonal topic matters, plan backward from when your reader needs the information. A planting guide needs research and preparation before the relevant season. Check the geography and growing conditions rather than assuming every reader shares the same calendar. The date should serve the lesson.
Schedule the work before the publish date
A publish date is the last deadline in a chain. Put the research, draft and review sessions before it, with enough space to fix whatever the review reveals. Otherwise, “publish Friday” becomes “discover everything that’s wrong with the article on Friday.”
For each committed post, write a short definition of ready. A practical starting point is: the reader’s question is answered, important claims have sources, examples are honest, images teach something, links work and the phone layout is readable. Adapt that list to the topic; a recipe or product review has its own evidence needs.
Use our blog-writing guide when you reach the drafting step. The calendar should point to the work, not try to contain the whole article. Link the draft document or WordPress edit screen so you don’t have to hunt through three folders every time you sit down.
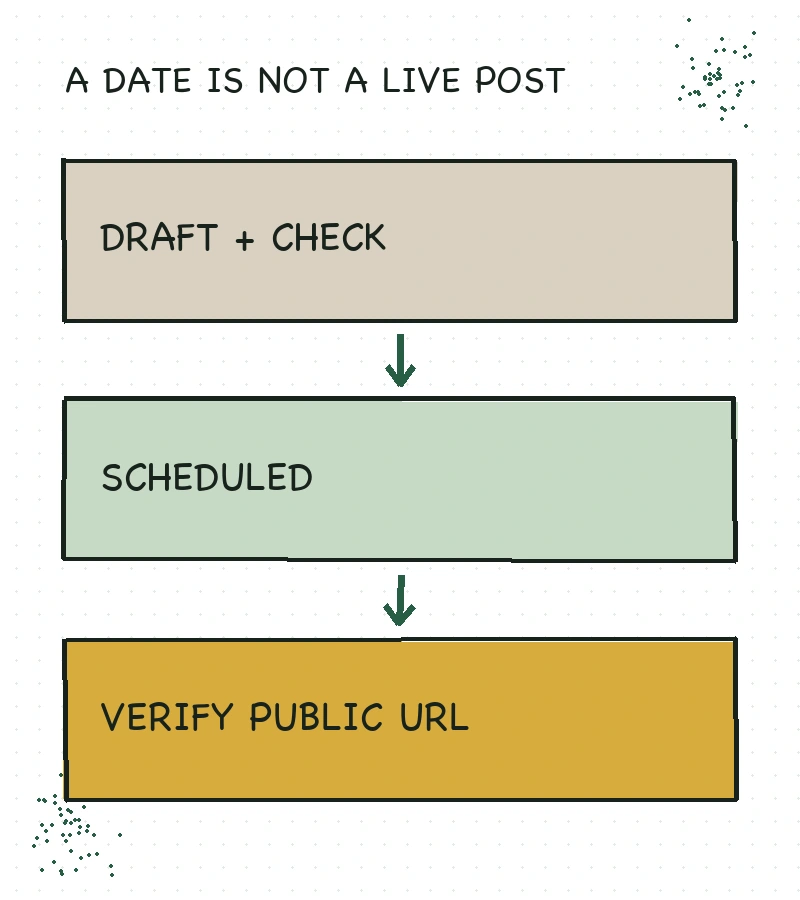
WordPress lets you set a future publication date in the post settings. Check the site’s timezone and the saved scheduled status. After that time arrives, open the public URL while logged out or in a private window and confirm the title, images and links appear as intended.
Only then mark the entry published and add its live link. If you need the full formatting path, our WordPress publishing tutorial walks through that part. A colored calendar cell is a reminder; the public page is the result.
When a week goes sideways, change the commitment
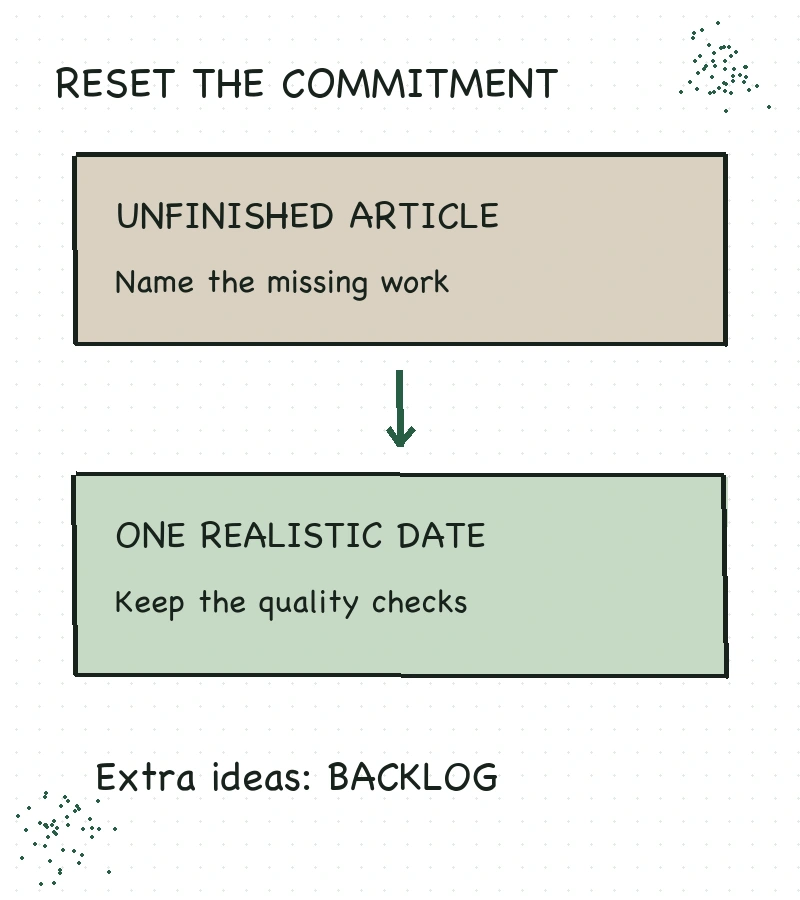
When a draft misses its target, first identify the remaining work. “Behind” doesn’t help you decide what to do. “Needs one source check and two photos” does. You may be closer to a useful release than the missed date makes it feel.
Choose the repair based on what is actually missing:
| What happened | What to change |
|---|---|
| The post grew into several different questions | Narrow it to the original reader job; move distinct ideas back to the backlog |
| A source, test or image is still missing | Move the release and record the specific evidence needed |
| Your available time shrank | Reduce the number of committed posts before adding new ones |
Don’t make the next week pay for the previous week’s optimism. Doubling the output target can turn one missed deadline into a permanent backlog. Finish the most useful work, move a date deliberately and keep the reader promise honest.
A finished evergreen post can give you breathing room later, but don’t rush out something weak just to create a buffer. Build spare capacity from useful completed work, not from lowering your own checks. The calendar should reveal the bottleneck early enough that you can make a sensible choice.
Review the calendar once a week, then close it
Set aside a short weekly check to compare the plan with reality. Look at what went live, what remains unfinished and what the next work session needs. If the same step keeps slipping, change the estimate or the scope rather than simply dragging the card to another date.
Review response separately from completion. A published article is a completed production task; traffic, reader questions and relevant signups tell you something about its usefulness over time. Record the source and date of any numbers you use. A quiet first week is too little evidence to declare an evergreen article a failure.
For the balcony blog, an early question about afternoon shade might reveal a missing explanation worth adding. It doesn’t automatically justify an entire new article. Read the existing guide first, decide whether the question belongs there and put the specific action into the calendar.
You can plan the next month loosely while keeping only the nearest few posts firmly committed. That gives you direction without pretending you know every useful question readers will ask three months from now.
Your next move is small: copy the template, choose one reader question and reserve the first work session. Leave the rest of the month less full than you’d like. You need somewhere to put the work you haven’t discovered yet.
Frequently Asked Questions
What is the difference between a blog content calendar and an editorial calendar?
The terms often overlap. For a solo blog, use one system that covers topic decisions, production work, publication dates and follow-up. Separate systems only help if they serve genuinely different jobs.
How far ahead should I plan blog content?
Start with the next four weeks and keep later ideas flexible. Research-heavy or seasonal posts may need a longer lead time. Commit dates only when you understand the work and have room to do it.
Do I need a paid calendar tool?
No. A spreadsheet or document can hold the template in this guide. Add software when a specific limitation, such as team handoffs or repeated missed reminders, makes the extra setup worthwhile.
How often should I publish a blog post?
Choose a cadence you can support with useful work, then check it against actual production time. Weekly and every-other-week are possible starting rhythms, not universal SEO rules. Increase the cadence only when quality and follow-up still fit.
